How Leak Detection Works
A leak detection visit is a process of elimination. Here is exactly what happens from the first phone call to the moment we point at a spot and say "there it is."
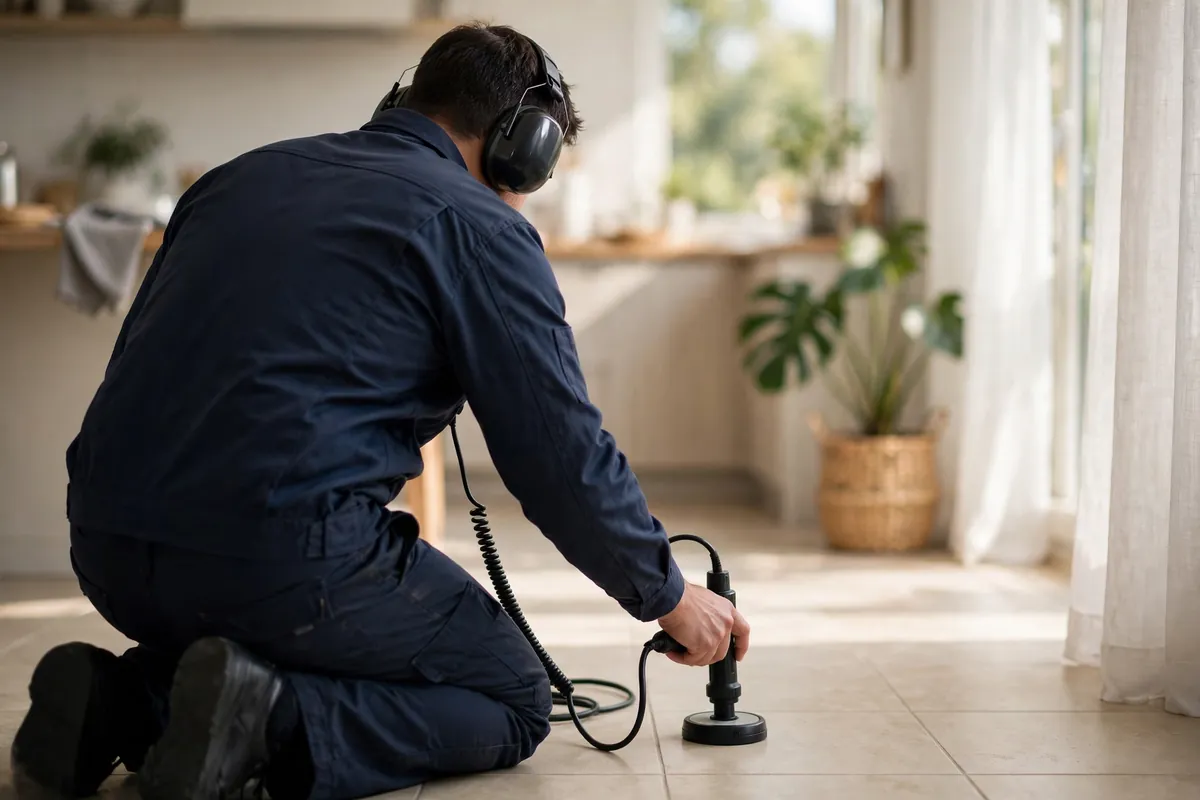
Most people call us because of a symptom: a bill that doubled, a sound of running water with everything off, a warm spot underfoot. What they want to know is simple, and fair: what are you actually going to do when you get here? This page walks through the full process, step by step, so there are no surprises.
What we rule out, and in what order
A detection visit is really a series of eliminations. Each check crosses off a chunk of the plumbing, so the search area keeps shrinking until the leak has nowhere left to hide. Here is the logic, in the order we apply it.
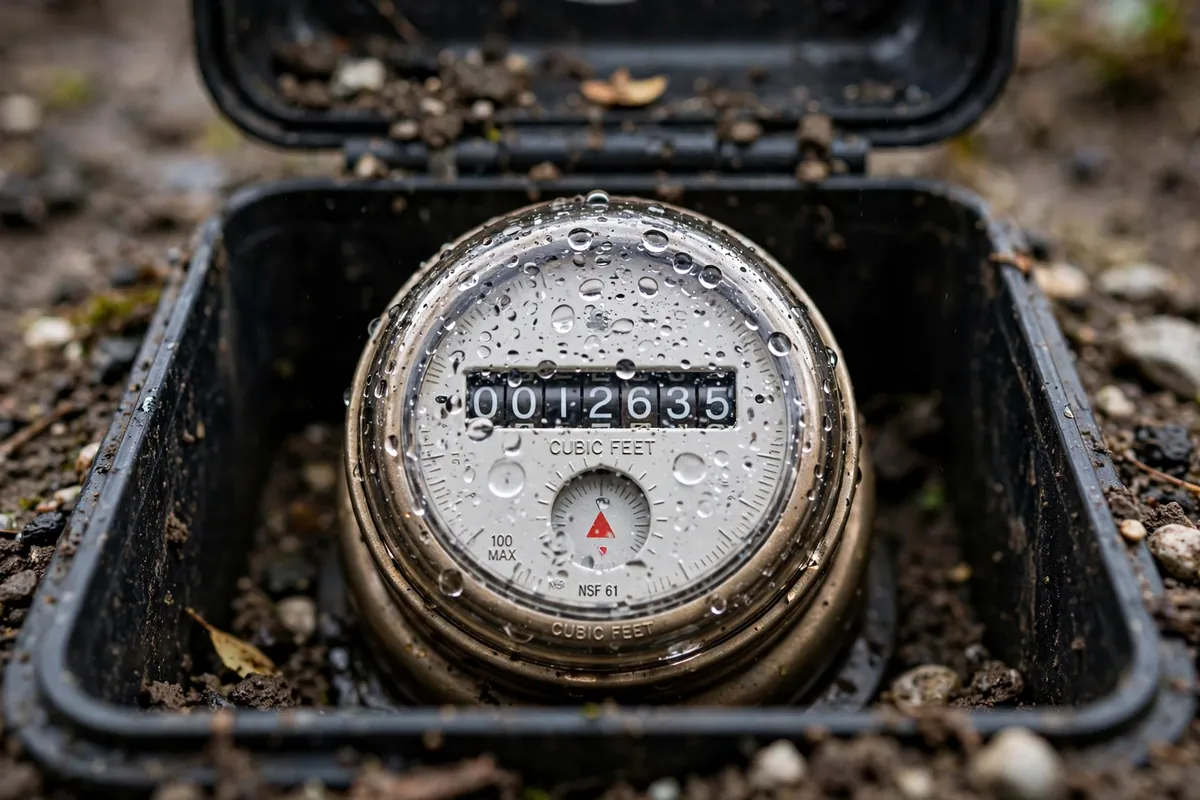
- Is it even a leak? The first elimination is the leak itself. The meter test, everything off, watch the dial, rules out phantom symptoms: a misread bill, a one-time toilet run, a neighbor's irrigation overspray wetting your yard. No meter movement, no leak, and we have saved you an hour of hunting for nothing.
- Inside or outside? Close the main valve. Meter stops: the leak is in the house. Meter keeps moving: it is in the service line between the meter and the house. One valve, and half the property is crossed off the list.
- Hot side or cold side? A water heater that runs when nobody has used hot water is a strong hot-side clue, and hot lines are often the ones buried under slabs. No warm spots and a quiet heater point the other way. This single distinction can cut the remaining search area dramatically.
- Supply or drain? Supply lines are pressurized; drain lines only leak when water flows through them. That difference decides the entire method: listening and pressure work on supply, while drains get fixture-by-fixture flow testing. Getting this wrong wastes the whole visit.
- Which branch? Shutting off individual fixture valves tells us which branch of the system feeds the leak: kitchen branch, bathroom branch, hose-bib run. Each isolation narrows the field again.
- Which method fits what's left? Only when the search area is small do the specialized tools come out, matched to what the eliminations revealed. A pressurized hot line under a slab gets a different toolkit than a drain that only leaks during showers.
- Pinpoint and mark. We work the remaining area carefully, listening, scanning, and cross-checking, until the evidence converges on a spot. Then we mark it, so you and your plumber can see exactly where the problem is.
- Report what we found, and what we didn't. You get findings in plain language: what leaked, where, what kind of pipe is involved, and what the repair likely entails. We also tell you what we ruled out, which matters just as much when you are about to pay for a repair.
- Hand off to the repair. We do detection, not repair, so this part is advice, not a pitch: what kind of contractor to call, what the fix typically involves, plus photos and written notes that help with your plumber or an insurance claim.
What each method is good at, and where it falls short
Every tool below is standard in the trade, and every one has limits. Knowing the limits is what keeps a technician from trusting a reading the tool had no business giving. Here is the honest version.
Acoustic listening
Good at: finding pressurized supply leaks, including slab leaks, by following the hiss to its loudest point, often accurate within inches. Falls short: on drain lines, which are not pressurized and make no noise; and in noisy houses, where appliances and traffic drown out the signal. Quiet matters, which is why we sometimes ask you to keep things still during this step.
Thermal imaging
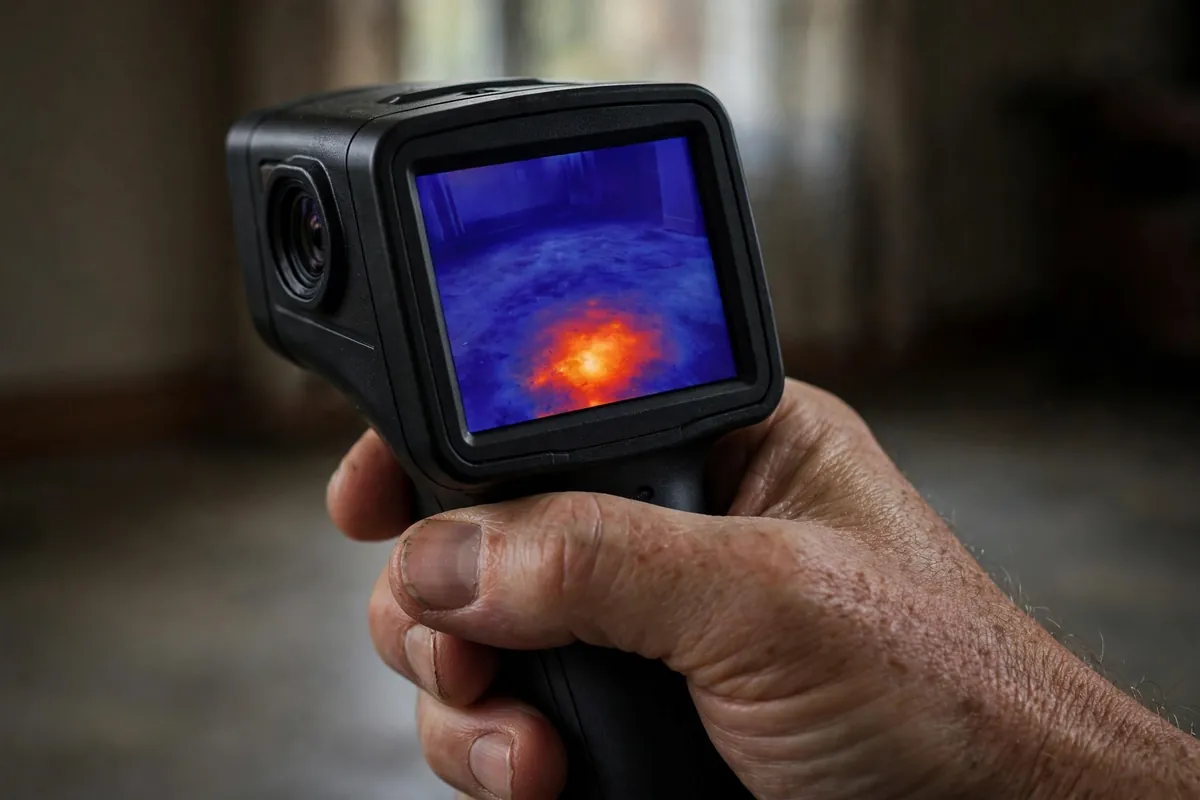
Good at: slab leaks and wall leaks, where escaping water changes surface temperature and the camera picks up the pattern. Falls short: in sun-warmed rooms or over radiant heat, where background warmth masks the signature; and on cold-water leaks, which show only as faint cool dampness. It is a clue, not a verdict.
Tracer gas
Good at: deep-buried or widely spaced lines where listening cannot reach, and lines that will not hold water pressure cleanly. Falls short: on speed, since setup takes longer, and in windy outdoor conditions where the gas disperses before the sniffer finds it. We reach for it when the situation earns the extra time.
Pressure isolation testing
Good at: telling you which branch of the system is leaking, so nobody opens walls on the wrong side of the house. Falls short: at pinpointing. It identifies the section, not the spot. Think of it as the map, not the X.
Moisture meters
Good at: confirming whether a stain is active or old, and mapping how far moisture has spread in drywall, wood, and concrete. Falls short: on sealed surfaces like tile, where they read the surface rather than what is behind it. A simple tool, used within its limits.
Supply lines vs. drain lines
One distinction shapes everything we do on site: supply lines run under pressure, drain lines do not. Acoustic listening and tracer gas work on pressurized supply lines, which is where copper, PEX, and older galvanized or polybutylene lines live. Drain lines, usually PVC or ABS, only leak when water flows through them, so they get tested differently, often by running fixtures and tracking the moisture with meters. Knowing which system is misbehaving is half the diagnosis, and the meter test is what tells us.
Confirming with two methods
One thing we insist on: whenever possible, we confirm a find with a second method. If acoustic listening says the leak is under the kitchen floor, thermal imaging or a pressure test should agree. This habit is what keeps a repair crew from digging in the wrong spot. A mark on the floor is only as good as the evidence behind it, and two independent methods is strong evidence. Read more about what a professional does on site if you want the full picture.
What the visit is like, and how long it takes
Expect a calm, methodical visit, not a demolition project. We move room to room, then outside to the meter and the yard if needed. You can follow along and ask questions, and we encourage it, because you are about to pay for a repair and you should understand exactly what you are paying for.
For timing: a straightforward residential visit usually takes one to two hours. Larger homes, commercial buildings, and genuinely tricky leaks take longer. Properties in areas with tricky access, like older Columbia homes with tight crawlspaces, can add time too. When you call and describe your situation, we will give you a realistic expectation, not a vague one.
What happens after detection
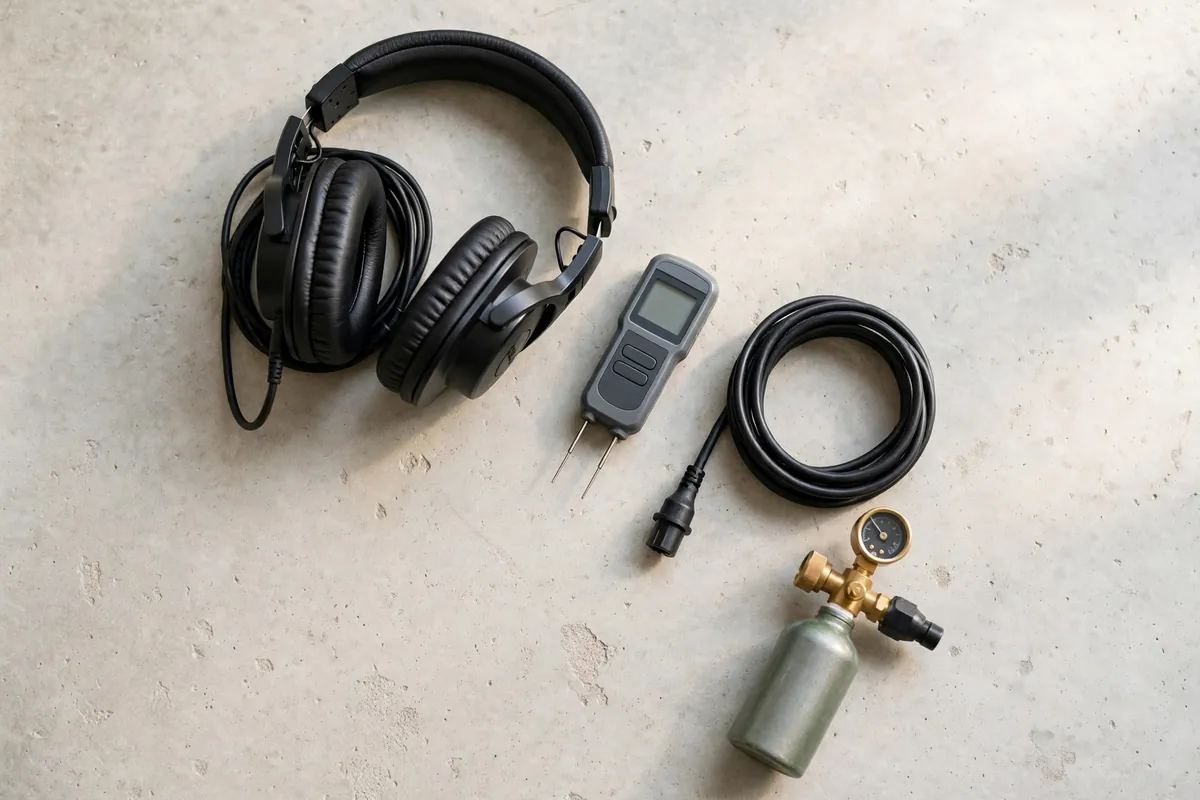
Three things leave with you. First, the leak location marked on site so there is no confusion. Second, written notes describing what we found, the pipe type and location, and what the repair will likely involve. Third, photo documentation of any visible damage, which is useful if you file an insurance claim. General advice: take your own photos too, from a few angles, before anything gets repaired.
Then you call a plumber or contractor for the repair itself. Because we do not do repairs, our notes carry no hidden agenda. If you want to understand which service fits your situation, start with our services overview, or browse leak symptoms to match what you are seeing to the right investigation.
One warning worth repeating
Do not drill into concrete, cut open walls, or pour chemical sealers into pipes based on a guess. We say this on nearly every visit. Blind demolition and blind chemical treatments both turn small problems into big ones. A detection visit costs far less than repairing a wrong guess. If you are tempted to start opening things up yourself, call us first. That is literally the cheapest advice we give.
A small leak found now beats a big repair later.
The earlier we catch it, the smaller the fix stays. Call and tell us what's going on.
Common questions
How long does a leak detection visit take?
A straightforward residential visit usually takes one to two hours. Larger homes, commercial buildings, or genuinely tricky leaks can run longer. Once you describe your symptoms on the call, we can give you a realistic estimate for your situation.
Will you have to tear open my walls or floor?
Not for detection. Non-invasive methods come first: listening, imaging, pressure testing. If a small opening is needed to confirm, it happens only with your go-ahead, and it stays as small as possible.
Can you really pinpoint a leak within inches?
In many cases, yes, especially pressurized line leaks found with acoustic listening. Some leaks (slow seeps, drainage issues) can only be narrowed to an area, and we will tell you honestly which kind you are dealing with.
Do I need to prepare anything before the visit?
Clear access to the water heater, meter box, and any area where you have noticed symptoms. If you can, note when the problem started and what your recent water bills looked like. That is all.
What happens after you find the leak?
You get a plain-language explanation of what we found and where, the leak location marked on site, and written notes you can hand to your plumber or contractor. We do detection, not repair, so there is no sales pitch attached.
Suspect a leak? Start with a conversation.
Describe your symptoms and we will tell you honestly whether a detection visit makes sense.